# Quick Start Guide
# Packaging List
- 1x CM4 Sensing Machine
- [Optional] 1x WiFi/BT Dual-band Antenna
- [Optional] 1x 4G External Antenna
TIP
There are several variants according to different ordering code.
- different eMMC size with 8GB, 16GB or 32GB
- different DDR / RAM size with 1GB, 2GB, 4GB or 8GB.
- If WiFi/BT included
- If 4G LTE included
- If a metal case included or a PCBA
More details please to refer to Ordering Code
# Optional Accessories
- 12V@2A Power Supply (opens new window), Offers 4 versions: UK, Europe, Australia & USA by a main body and 4 changeable plugs
- CR1220 RTC battery
# Hardware Setup
We take the CM4 Sensing with WiFi, 4G and case as example to show how to install.
# What Do You Need
Besides the CM4 Sensing machine, you also need:
- 12V@2A Power Supply
- 1x Ethernet cable
- [Optional] 1x micro SDCard for data storage only
- [Optional] 1x micor SIM card
- 1x HDMI monitor
- 1x standard HDMI A to HDMI A cable
- 1x keyboard
- 1x mouse
# Hardware Assembly
- Install the WiFi antenna
- [Optional] Insert the micro SDCard
- [Optional] Insert the micro SIM card
- Connect the Ethernet cable between CM4 Sensing and a router
- Plug you keyboard and mouse to the USB ports
- Make sure that your monitor is turned on, and that you have selected the right input
- Then connect your HDMI cable from CM4 Sensing to your monitor
# Start up
CM4 sensing will boot up once you plug the power supply.
- Plug the 12V@2A power supply into a socket and connect it to the DC port marked '+12V DC' on CM4 Sensing
- You should see a red LED light up on the Raspberry Pi, which indicates that Raspberry Pi is connected to power. As it starts up (this is also called booting), you will see raspberries appear in the top left-hand corner of your screen

- After a few seconds the Raspberry Pi OS desktop will appear. If login is promoted, please input username:
piand default password:raspberry

TIP
There is a pre-installed Raspberry Pi OS in the eMMC, you do not have to flash it
WARNING
Please use a 12V power supply. The voltage of the power supply cannot exceed 18V, or it will damage the board.
# Finishing the setup
When you start your Raspberry Pi for the first time, the Welcome to Raspberry Pi application will pop up and guide you through the initial setup.
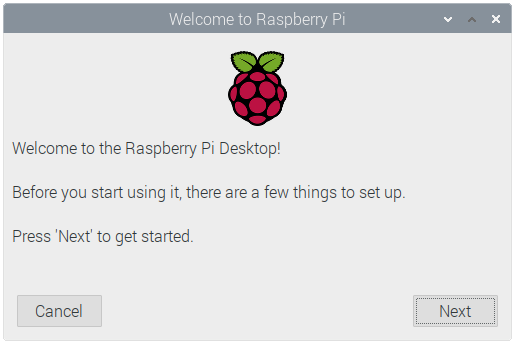
- Click on Next to start the setup.
- Set your Country, Language, and Timezone, then click on Next again.

- Enter a new password for your Raspberry Pi and click on Next.

- Connect to your wireless network by selecting its name, entering the password, and clicking on Next.

Note: If your model of Raspberry Pi doesn’t have wireless connectivity, you won’t see this screen.
Note: Wait until the wireless connection icon appears and the correct time is shown before trying to update the software.
- Click on Next, and let the wizard check for updates to Raspberry Pi OS and install them (this might take a little while).

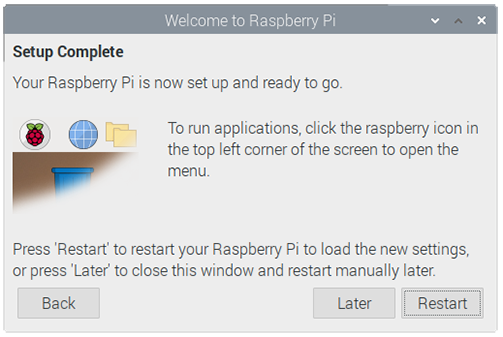
- Click on Restart to finish the setup.
Note: You will only need to reboot if that’s necessary to complete an update.
# Remote Access the CM4 Sensing with SSH
The SSH service is enabled in the pre-installed OS. Please refer to the below sections for detailed instructions.